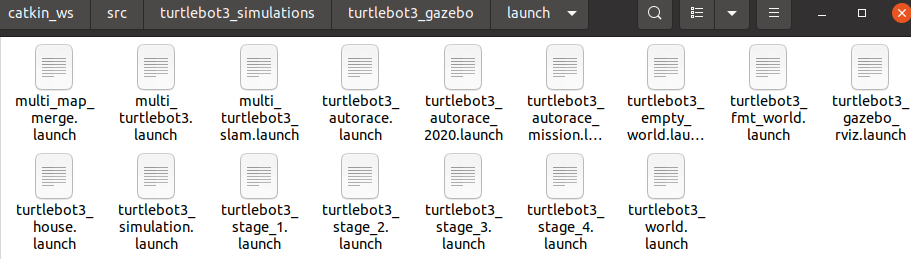
roslaunch turtlebot3_gazebo turtlebot3_square_world.launch
roslaunch turtlebot3_slam turtlebot3_slam.launch slam_methods:=gmapping
roslaunch turtlebot3_teleop turtlebot3_teleop_key.launch
Control Your TurtleBot3!
---------------------------
Moving around:
        w
   a    s    d
        x
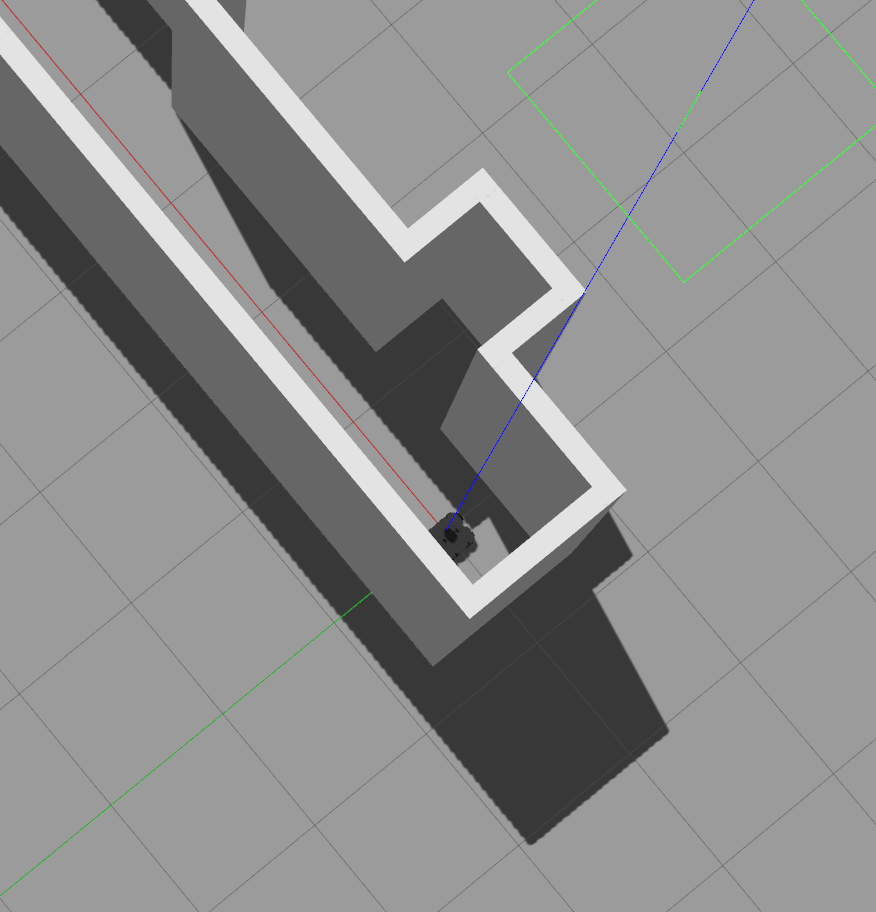
the robot and lidar info go different direction…
try running the command from the tutorial…
ROS演習8-2019:地図作成・自己位置推定 (gmapping, amcl)
https://demura.net/education/16294.html
zotac-d05@d05:~$ roslaunch turtlebot3_gazebo turtlebot3_fmt_world.launch
... logging to /home/zotac-d05/.ros/log/c07d07c4-fca8-11ef-89bd-9985b327fdea/roslaunch-d05-17171.log
Checking log directory for disk usage. This may take a while.
Press Ctrl-C to interrupt
Done checking log file disk usage. Usage is <1GB.

RLException: Invalid <param> tag: Cannot load command parameter [robot_description]: no such command [['/opt/ros/noetic/share/xacro/xacro.py', '/home/zotac-d05/catkin_ws/src/turtlebot3/turtlebot3_description/urdf/turtlebot3_waffle_pi.urdf.xacro']].

Param xml is <param name="robot_description" command="$(find xacro)/xacro.py $(find turtlebot3_description)/urdf/turtlebot3_$(arg model).urdf.xacro"/>
The traceback for the exception was written to the log file
go back to the tutorial
ROS演習7-2019:デッドレコニングを実装しよう!
https://demura.net/education/16291.html
$ roslaunch turtlebot3_gazebo turtlebot3_empty_world.launch$ roslaunch turtlebot3_teleop turtlebot3_teleop_key.launch$ rosrun my_odom3 my_odom3
[ INFO] [1741500724.826418003]: Vel (Linear:0.000000, Angular:0.000000)
[ INFO] [1741500724.826487416]: Whell Pos (r:6.116184, l:6.116184)
[ INFO] [1741500724.866283956]: Whell Pos (r:6.116184, l:6.116184)
[ INFO] [1741500724.866399997]: Seq: 2666
[ INFO] [1741500724.866445659]: /odom Pos (x:0.201834, y:0.000000, z:0.000000)
[ INFO] [1741500724.866494649]: /odom Pose (roll:0.000000, pitch:-0.000000, yaw:0.000000)
  ros::Subscriber sub  = nh.subscribe("/cmd_vel", 10, cbVel);
  ros::Subscriber sub2 = nh.subscribe("/odom", 100, cbOdom);
  ros::Subscriber sub3 = nh.subscribe("/gazebo/model_states", 100, cbModelStates);
  ros::Subscriber sub4 = nh.subscribe("/joint_states", 100, cbMyOdom);
as the below command run with out problem, so refer its launch file
zotac-d05@d05:~$ roslaunch turtlebot3_gazebo turtlebot3_world.launch
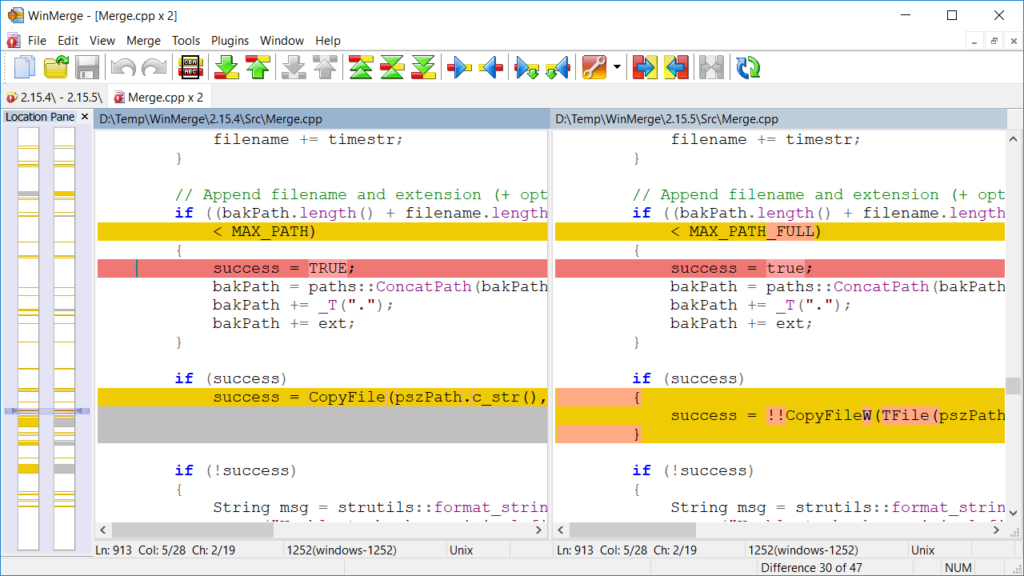
change from
<param name="robot_description" command="$(find xacro)/xacro.py $(find turtlebot3_description)/urdf/turtlebot3_$(arg model).urdf.xacro" />to (xacro has no .py)
<param name="robot_description" command="$(find xacro)/xacro --inorder $(find turtlebot3_description)/urdf/turtlebot3_$(arg model).urdf.xacro" />note that there are turtlebot3_fmt_world.launch file, fmt.world file and fmt model file.
then try the program again
roslaunch turtlebot3_teleop turtlebot3_teleop_key.launch
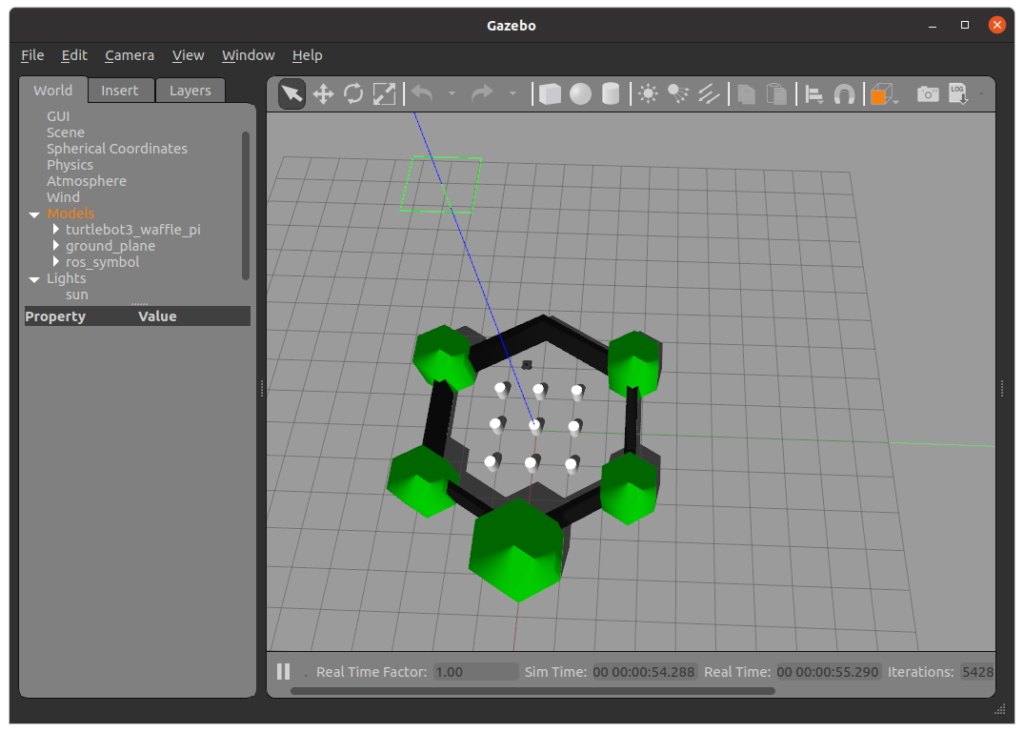
roslaunch turtlebot3_gazebo turtlebot3_fmt_world.launch
roslaunch turtlebot3_slam turtlebot3_slam.launch slam_methods:=gmapping
no problem!!!
then fixed the robot and sensor orientation!
somehow just copy camera pose from map7f.world to 01_square_world.world fixed the orientation problem…
      <camera name='user_camera'>
        <pose>-5.44095 3.17636 35.0543 0 1.51164 -0.686989</pose>
note that I cannot add the world_name parameter through the launch file..
roslaunch turtlebot3_gazebo turtlebot3_empty_world.launch world_name:=/home/zotac-d05/catkin_ws/src/turtlebot3_simulations/turtlebot3_gazebo/worlds/turtlebot3_world.world fail
cd ~/catkin_ws/src/turtlebot3_simulations/turtlebot3_gazebo/worlds/
roslaunch turtlebot3_gazebo turtlebot3_empty_world.launch world_name:=turtlebot3_world.world fail
need to create a new launch file when has a new map
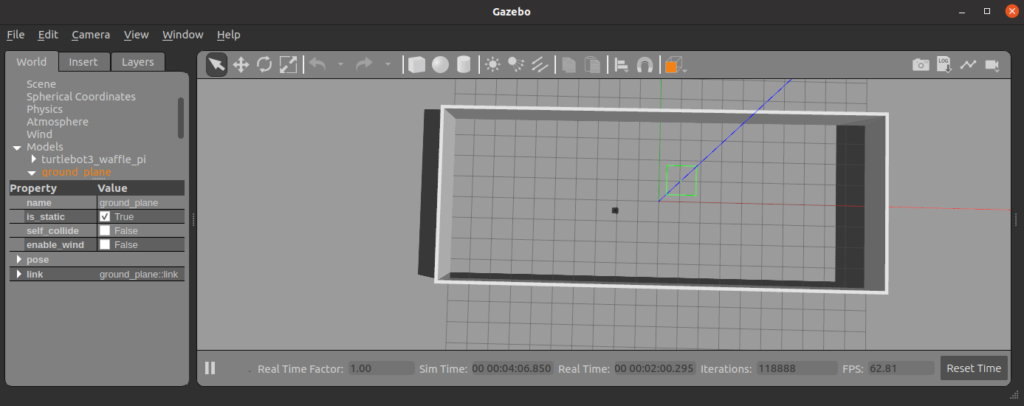
roslaunch turtlebot3_gazebo turtlebot3_world.launch ok
ps. wanna do this.. as the robot control code
- 演 習(レポート2)
- 準備
- 以下のROS C++スタイルガイドを参考にRobotクラスを作ろう。
- 基本動作
- Turtlebot3を指定速度[m/s]で直進する以下のメンバ関数を作ろう。
- void Robot::moveAtSpeed(double linear_vel)
- Turtlebot3を指定角速度[rad/s]で回転する以下のメンバ関数を作ろう。
- void Robot::turnAtSpeed(double ang_vel)
- Turtlebot3を指定速度[m/s]で指定の距離[m]だけ直進して停止する以下のメンバ関数を作ろう。
- void Robot::moveToDistance(double linear_vel, double dist)
- Turtlebot3を指定角速度[°/s]で指定の角度[°]だけ回転して停止する以下のメンバ関数を作ろう。
- void Robot::turnToAngle(double ang_vel, double angle)
- Turtlebot3を指定位置(ロボット座標系)へ移動する以下のメンバ関数を作ろう。なお、ROSの座標系なのでロボットの進行方向がx、左方向がy軸の正方向です。
- void Robot::moveToPoint(double x, double y)
- Turtlebot3を指定速度[m/s]で直進する以下のメンバ関数を作ろう。
- ウェイポイントナビゲーション
- スタート地点からゴールまで進むプログラムを作ろう。ロボットが通過するウェイポイントとその地点での姿勢を配列として実装しなさい。ロボットはウェイポイントで停止してもしなくても良いが、指定された姿勢を取ること。
- デッドレコニング
- デッドレコニングをcbMyOdom関数に実装しよう。rvizの場合は/odomトピックと値を比較し、gazeboが動く場合はシミュレータ上の真の位置Real Posと比較しよう。
- 準備
- ヒント
- Gazeboを起動するとTurtlebot3に速度指令を送らなくても滑って動く場合があります。その場合は次のパラメータを変更してみてください。
- turtlebot3/turtlebot3_description/urdf/turtlebot3_burger.gazebo.xacro
- 11,12, 21,22行目パラメータ摩擦係数mu1,mu2を0.1から1以下の大きな値。
- <mu1>1.0</mu1>
<mu2>1.0</mu2>
- <mu1>1.0</mu1>
- mu1, mu2を変化させてもスリップする場合はkp, kdのパラメータを変えましょう。gazeboは動力学計算にODEを使っており、ODEのdt(時間ステップ)、erp、cfmとは次の関係があります。
- kp = erp/ (dt* cfm)
- kd = (1.0- erp)/cfm
- kp, kd, dtからerp, cfmを求める式
- erp = dt * kp / (dt * kp + kd)
- cfm = 1.0 / (dt * kp + kd)
- 11,12, 21,22行目パラメータ摩擦係数mu1,mu2を0.1から1以下の大きな値。
- turtlebot3/turtlebot3_description/urdf/turtlebot3_burger.gazebo.xacro
- Gazeboを起動するとTurtlebot3に速度指令を送らなくても滑って動く場合があります。その場合は次のパラメータを変更してみてください。