Create Avatar for Unity

From: https://support.readyplayer.me/hc/en-us/articles/360020740897-How-do-I-use-a-GLB-model-in-Unity-

  1. Create and download your avatar from https://readyplayer.me/
  2. Import your file into Blender – File/Import/gITF 2.0 (.glb/gltf)
  3. Edit your model (remove extra bones in the head, fingers, etc.)
  4. Go to the Texture Paint tab and select “View” in the top left of the Image Editor panel
  5. Select each texture from the drop-down at the top
  6. At the top left, click Image/Save As… (or Shift + Alt + S) and select your destination
  7. Export your model as an FBX – File/Export/FBX (.fbx)
  8. Import your model and textures into Unity
  9. Click the FBX avatar in the Assets window
  10. In the Inspector window, change the Location to “Use External Materials (Legacy)” and apply
  11. If some base textures don’t appear, click on the body part and manually assign the texture to the correct map (Albedo).
Unity Shader for Generating Annotation Image

Game scene:

  • Attach the 2nd (normal view) and 3rd (segmentation view) cameras to the game scene
  • Create Renderer Target x2 to receive images from the cameras
  • Create UI/Raw Image to show the images from the cameras

The segmentation view camera: attach the below script

using UnityEngine;
[ExecuteInEditMode]
public class ReplacementShaderTest : MonoBehaviour
{
    private Camera _camera;
    private Shader _shader;
    void OnEnable()
    {
        _camera = GetComponent<Camera>();
        _shader = Shader.Find("ReplaceObjectColorInCameraView");
        _camera?.SetReplacementShader(_shader, "Annotation");

    }
    private void OnDisable()
    {
        _camera?.ResetReplacementShader();
    }
}

We will have the below shader code in Assets folder. It is called by ReplaceObjectColorInCameraView.cs. It will check the Annotation tag set in another script and change the gameobject material color.

Shader "ReplaceObjectColorInCameraView"
{
	SubShader
	{
		Tags { "Annotation" = "green" }
		Pass
		{
			CGPROGRAM
			#pragma vertex vert
			#pragma fragment frag
			#include "UnityCG.cginc"

			float4 vert(float4 vertex : POSITION) : SV_POSITION
			{
				return UnityObjectToClipPos(vertex);
			}
			fixed4 frag() : SV_Target
			{
				return fixed4(0, 1, 0, 1); //green
			}
			ENDCG
		}
	}
	SubShader
	{
		Tags { "Annotation" = "red" }
		Pass
		{
			CGPROGRAM
			#pragma vertex vert
			#pragma fragment frag
			#include "UnityCG.cginc"

			float4 vert(float4 vertex : POSITION) : SV_POSITION
			{
				return UnityObjectToClipPos(vertex);
			}
			fixed4 frag() : SV_Target
			{
				return fixed4(1, 0, 0, 1); //red
			}
			ENDCG
		}
	}
}

At any gameobject, attach the below code to set an annotation tag.
A gameobject may contain many materials or has a material attached in its child object.

using System.Collections.Generic;
using System.Linq;
using UnityEngine;

[ExecuteInEditMode]
public class SetShaderTagsAnnotation : MonoBehaviour
{
    public enum AnnotationType
    {
        green, red
    }
    public AnnotationType annotation_name; 

    void Start()
    {
         List<Material> list_material = obj.GetComponent<Renderer>().materials.ToList();
         foreach (Material mat in list_material)
         {
             mat.SetOverrideTag("Annotation", annotation_name.ToString());
         }
         ApplyAnnotation(gameObject.transform);
    }
    void ApplyAnnotation(Transform obj)
    {
        Renderer myRenderer = obj.GetComponent<Renderer>();
        if (myRenderer != null)
        {
            myRenderer.material.SetOverrideTag("Annotation", annotation_name.ToString());
            //Debug.Log(obj.name + " is set to " + annotation_name.ToString());
        }
        else
        {
            //Debug.Log(obj.name + " has no Renderer component");
            TraverseHierarchy(obj.transform);
        }
    }

    void TraverseHierarchy(Transform parent)
    {
        //Debug.Log("TraverseHierarchy of " + parent.name);
        foreach (Transform child in parent)
        {
            ApplyAnnotation(child);
        }
    }

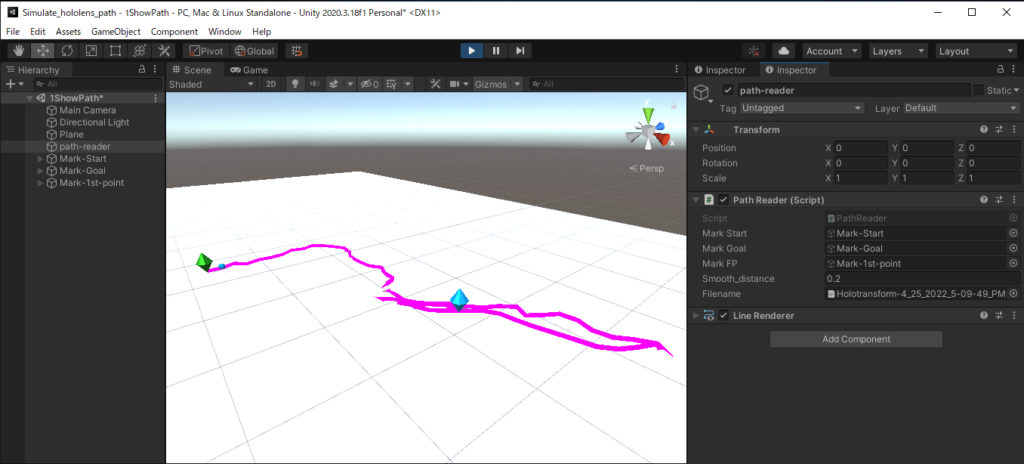
ShowPath

using System.Collections;
using System.Collections.Generic;
using UnityEngine;

public class PathReader : MonoBehaviour
{
    public GameObject MarkStart, MarkGoal, MarkFP;
    public float smooth_distance;
    public TextAsset filename;
    //private List<string> file_data_line;
    private List<Vector3> positions, rotations;

    private LineRenderer lineRenderer;

    void Awake()
    {
        lineRenderer = GetComponent<LineRenderer>();
        //file_data = System.IO.File.ReadAllLines(filename_path);
        //Debug.Log(filename);
    }

    void Start()
    {
        List<string> file_data_each_line = TextAssetToListString(filename);
        ListStringToListVector(file_data_each_line, out positions, out rotations, smooth_distance);
        //MapToGroundPosition(); //cannot change the value of List<Vector3> after assigned.

        //Assign positinos to line renderer
        lineRenderer.positionCount = positions.Count;
        lineRenderer.SetPositions(positions.ToArray());

        //Assign Mark object position
        MarkStart.transform.position = positions[0];
        MarkGoal.transform.position = positions[positions.Count-1];
        MarkFP.transform.position = positions[1];

        Debug.Log("Positions count = " + positions.Count);
    }

    private List<string> TextAssetToListString(TextAsset ta)
    {
        return new List<string>(ta.text.Split('\n'));
    }


    private void ListStringToListVector(List<string> list_text, out List<Vector3> list_pos, out List<Vector3> list_rot, float smd)
    {
        list_pos = new List<Vector3>();
        list_rot = new List<Vector3>();

        // 1st line is label
        // 2nd line add to thevector
        string[] columns = list_text[1].Split(',');
        Vector3 load_position = new Vector3(float.Parse(columns[1]), 0f, float.Parse(columns[3])); //set y to ground
        Vector3 load_rotation = new Vector3(float.Parse(columns[4]), float.Parse(columns[5]), float.Parse(columns[6]));
        positions.Add(load_position);
        rotations.Add(load_rotation);

        for (int i = 2; i < list_text.Count; i++) // from 3nd line, check distance before add to the vector
        {
            //Debug.Log(line);
            columns = list_text[i].Split(',');

            if (columns.Length != 7) // not enough information to extract (end of line)
                return;

            //Debug.Log(i+" "+columns.Length);

            //Vector3 load_position = new Vector3(float.Parse(columns[1]), float.Parse(columns[2]), float.Parse(columns[3]));
            load_position = new Vector3(float.Parse(columns[1]), 0f, float.Parse(columns[3])); //set y to ground
            load_rotation = new Vector3(float.Parse(columns[4]), float.Parse(columns[5]), float.Parse(columns[6]));

            if(Vector3.Distance(positions[positions.Count-1], load_position) > smd)
            {
                positions.Add(load_position);
                rotations.Add(load_rotation);
            }

        }
    }


}

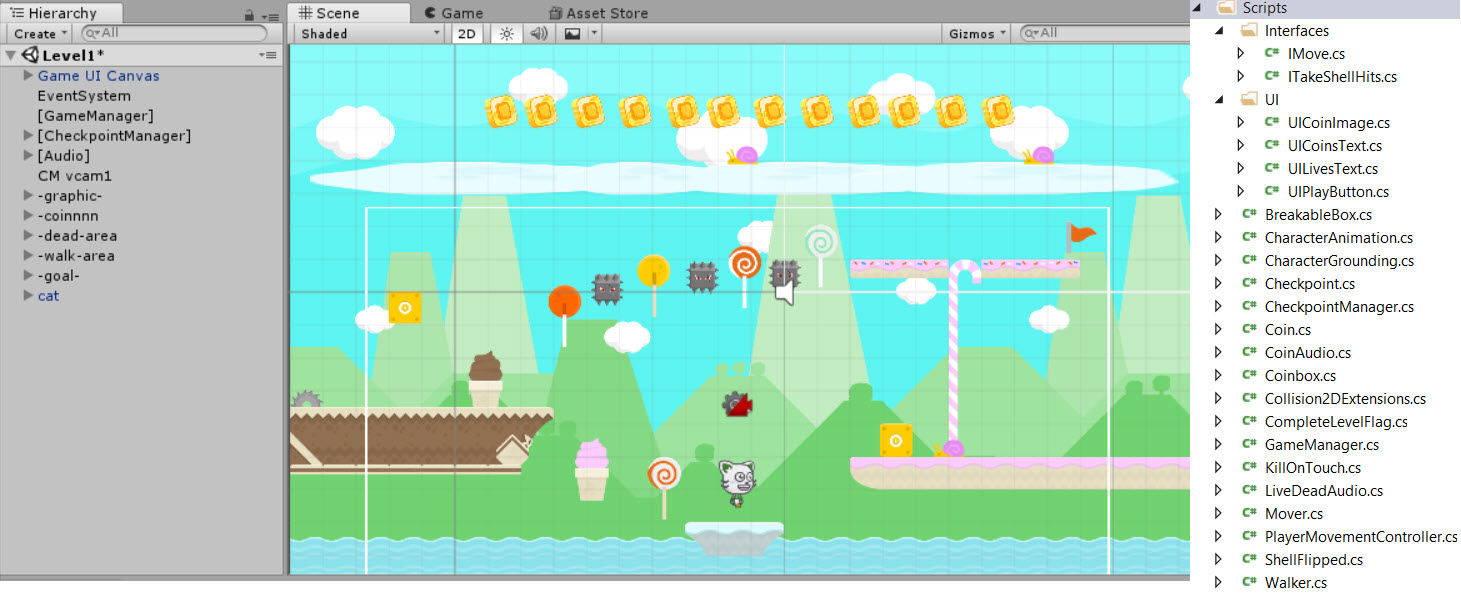
my 2d game

http://mionzlab.bumbleplay.com/WebglGame/

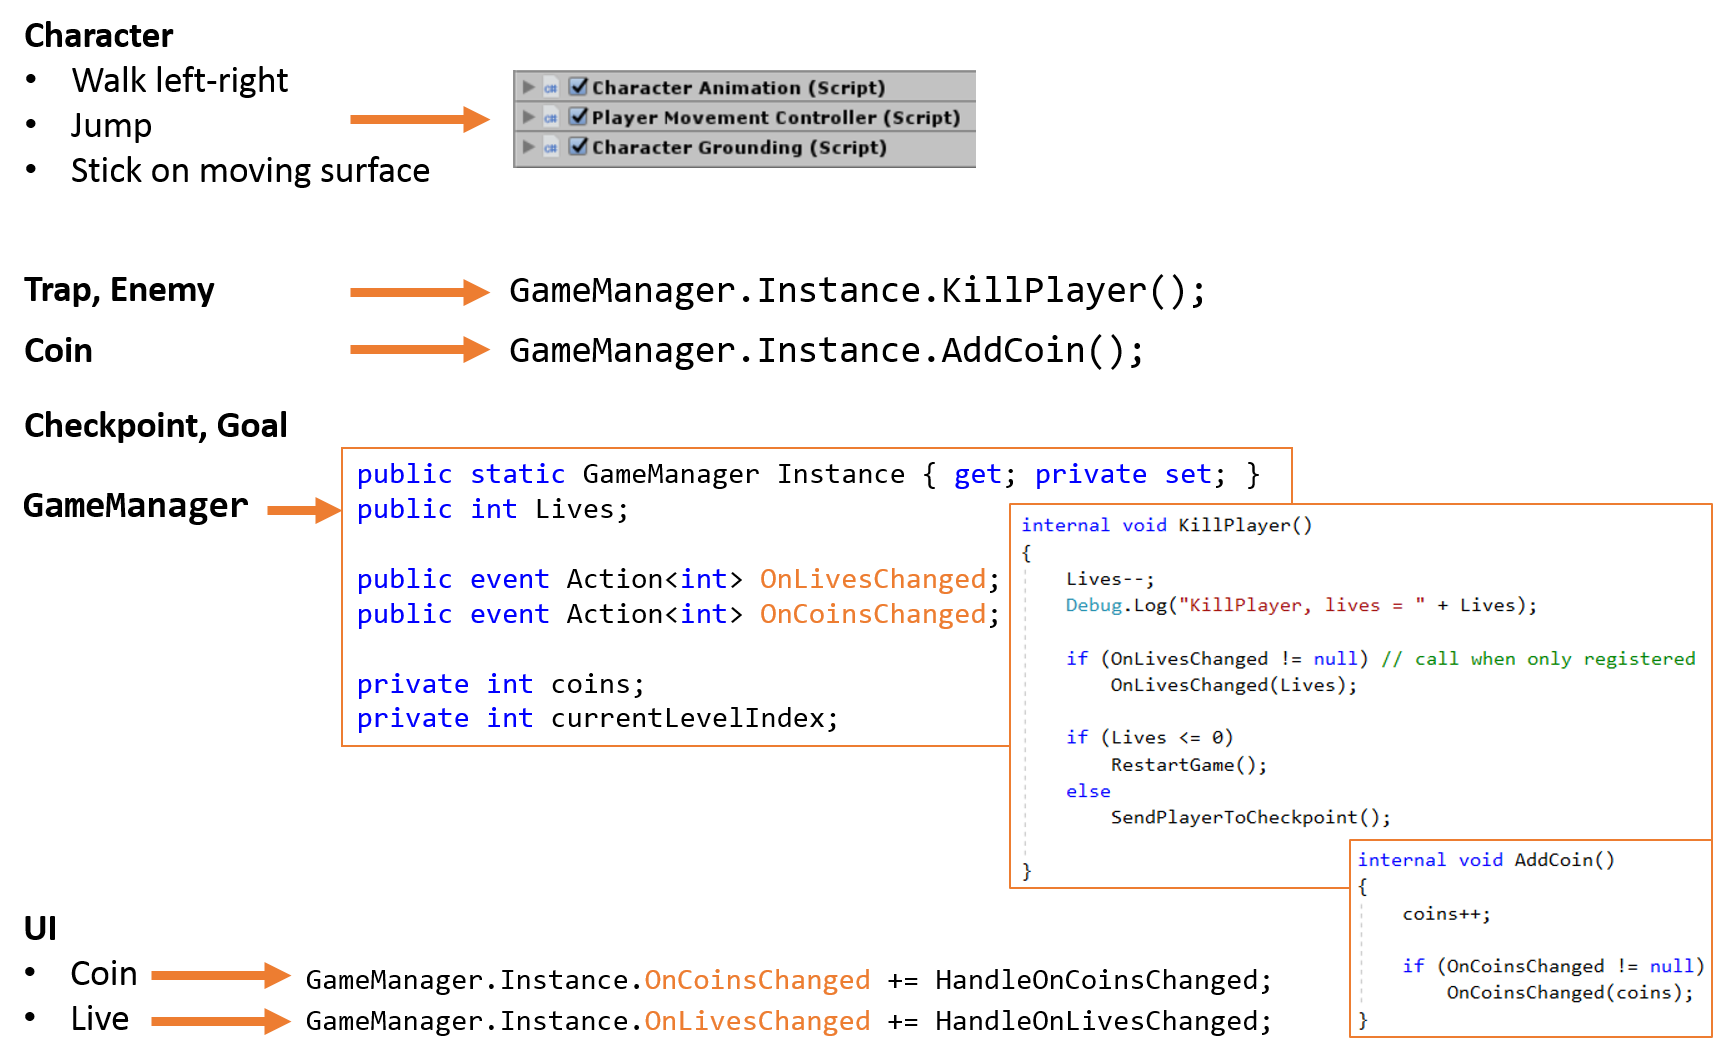
internal ก็คือ public แค่ว่าไม่สามารถเรียกฟังก์ชันนี้จากข้างนอกโปรแกรมได้

Animation rigging unity

http://nw.tsuda.ac.jp/lec/unity5/index-en.html

https://medium.com/unity3danimation/create-your-own-ik-in-unity3d-989debd86770

https://www.udemy.com/mastering-3d-animation-in-unity/


Unity free asset

https://assetstore.unity.com/packages/essentials/cinemachine-79898

https://unity3d.com/learn/tutorials/topics/animation/using-cinemachine-getting-started


https://assetstore.unity.com/packages/2d/environments/free-platform-game-assets-85838


https://assetstore.unity.com/packages/essentials/beta-projects/textmesh-pro-84126


https://assetstore.unity.com/packages/tools/utilities/size-utilities-13534

เอาไว้วัด Global size ของ object


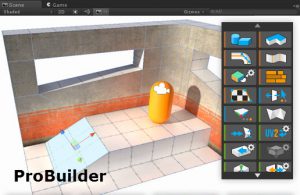
https://assetstore.unity.com/packages/tools/modeling/probuilder-111418

https://unity3d.com/unity/features/worldbuilding/probuilder

เอาไว้สร้างฉาก


https://assetstore.unity.com/packages/vfx/particles/cartoon-fx-free-109565

เอาไว้ทำ particle effect เวลา monster โดนเรา attack


unity 2d sprite animation

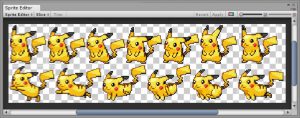
Sprite slice

  1. พิมพ์หา sprite sheet ที่ชอบ ใน google
  2. รูปพื้นหลังควรจะเป็น transparent
  3. ลางรูปนั้นเข้า Assets
  4. ตรง Inspector ของรูป
    เลือก Texture Type = Sprite(2D and UI),
    เลือก Sprite Mode = Multiple
    กดปุ่ม Sprite Editor
  5. กดเมนู Slice แล้วจะเห็นส้นสีขาวบางๆ แยกภาพย่อยไว้ให้, กด aply
  6. ตรง Assets ก็จะแบ่ง sprite เป็นรูปๆให้

Animation

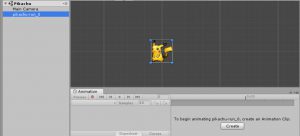
  1. เปิดเมนู Window > Animation
  2. คลิ๊ก object ใน Hierarchy ที่จะทำ animation
  3. ตรงหน้าต่าง Animation กดปุ่ม Create
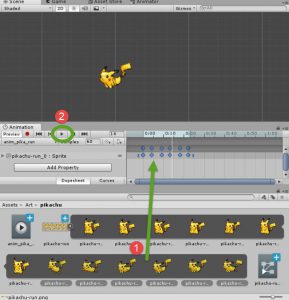
  4. ลาก sprite ที่จะใช้ขึ้นมาวางไว้ใน animation pane
  5. ตรงขีดสีฟ้าๆ สามารถลากให้ frame มันนานขึ้นได้ (ความเร็วในการเปลี่ยนรูป)
  6. กด play เพื่อดู animation