I didn’t touch Hololens for almost 2 years…then I forgot how to use it… It took several days to recall my memory. So I need to write this out otherwise I will forget again.
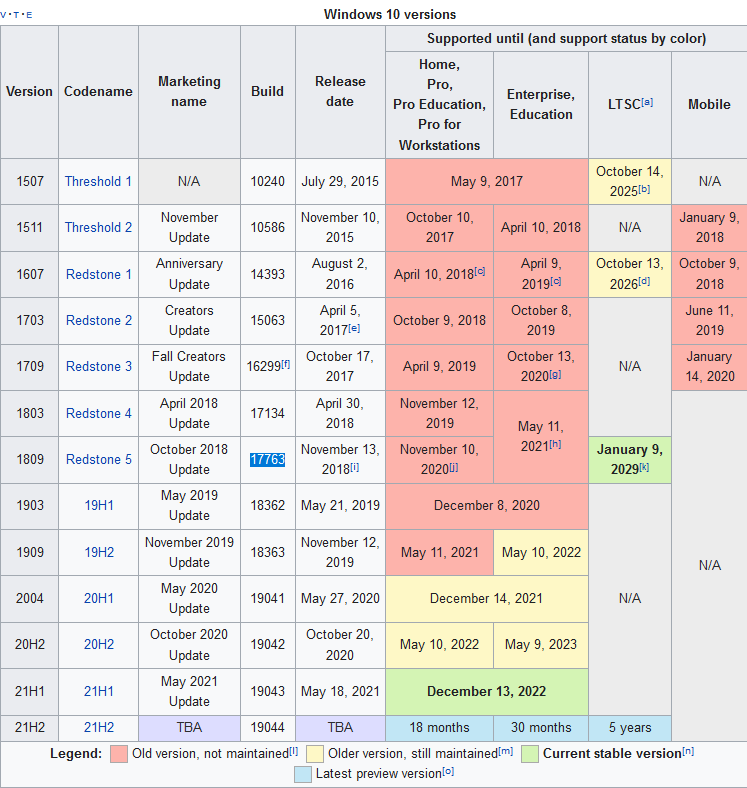
I have a Hololens with the current OS is 10.0.17763.2114 (Check it at Settings > About), that is Windows 10 Version 1809 (RS5)
https://en.wikipedia.org/wiki/Windows_10_version_history
First I need Visual Studio 2017 and Unity 2018.2.1f1, the same version I used around 2018-2019.
While install Visual Studio Community, ensure that Windows 10 SDK 10.0.17763.0, Universal Windows Platform (UWP), .NET, USB device connection? are selected.
While install Unity, select UWP Build Support (Both IL2CPP and .NET), Vuforia AR Support. Note that Unity 2018.2.1f1 is the last version that can build app with .NET
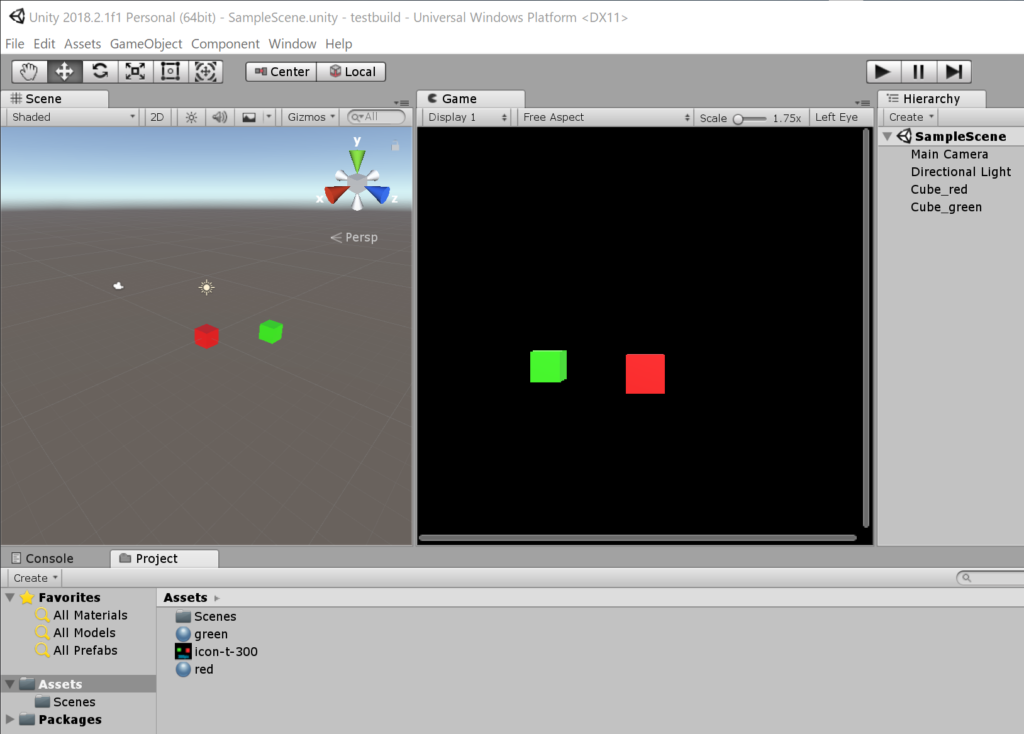
New Unity 3D project:
1. Main Camera > Clear Flags >
– Change from Skybox to Solid Color,
– Background = Black color.
2. You may change Field of View, Clipping Planes Near-Far later.
3. Add some object to the scene.
– Right click in Hierarchy > 3D Object > Cube.
– Right click in Assets > Create > Material > name = red_material, change albedo color to red.
– Drag the red_material to the cube, then the cube color will become red
Here we finish set up a sample scene.
Unity Setting:
1. Windows > Package Manager > remove Text Mesh Pro package, it will cause a failure build in Visual Studio.
2. Edit > Project Settings > Quality > Select Very Low level. (may not necessary)
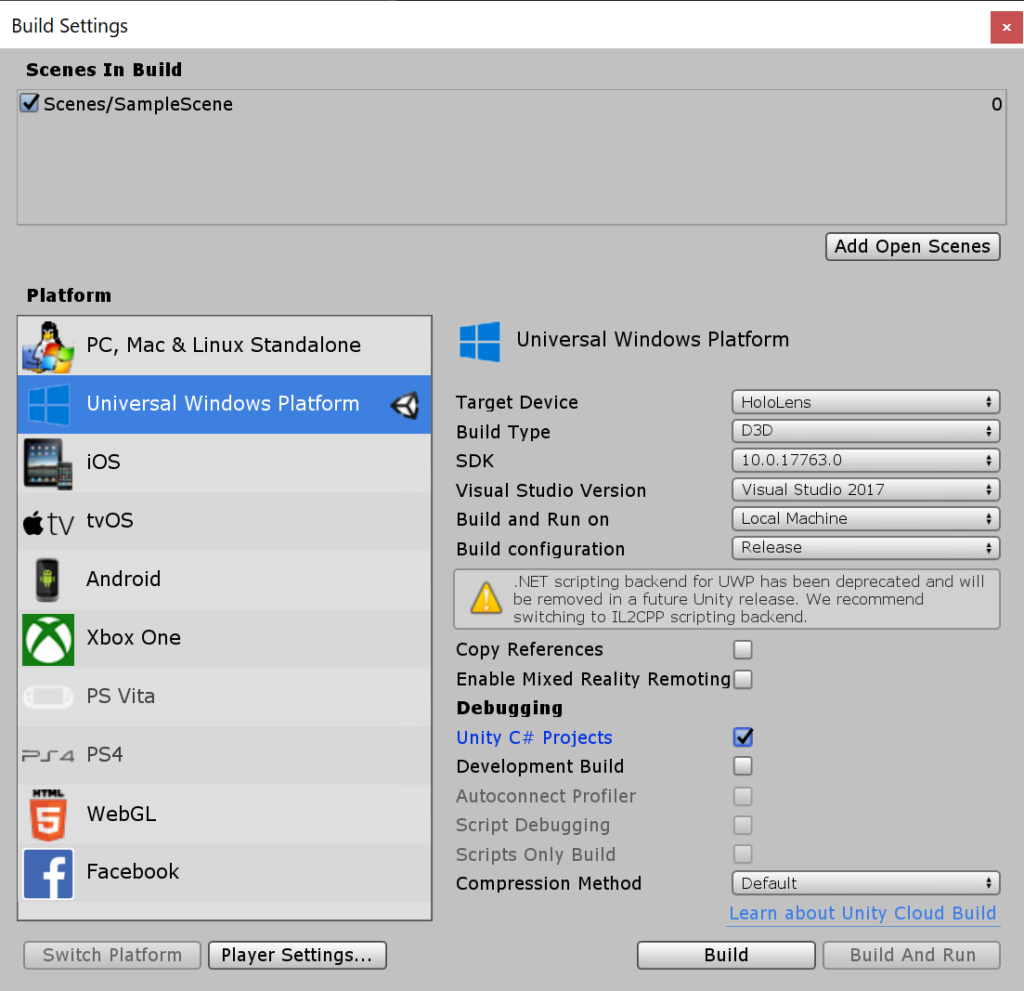
3. File > Build Settings >
– Platform = Universal Windows Platform, then click Switch Platform
– Player Settings >
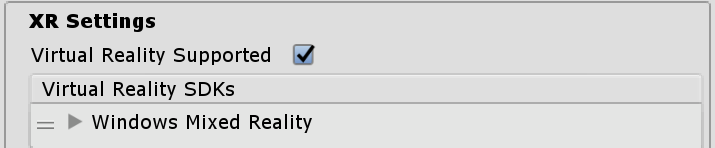
— XR Setting > Select Virtual Reality Support
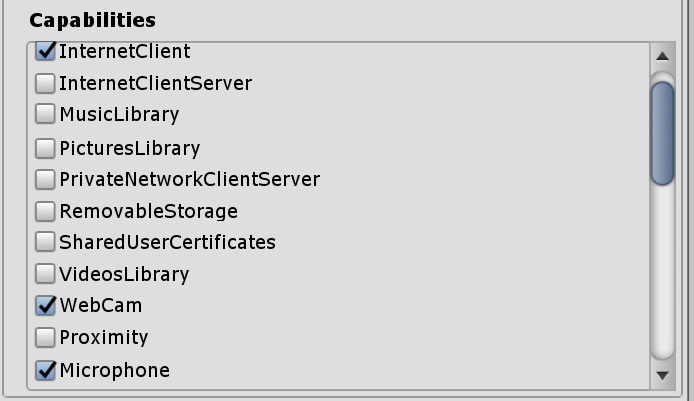
— Publishing Setting > Capabilities > Select: InternetClient, Webcam, Microphone, SpatialPerception (any stuff you will use in your app)
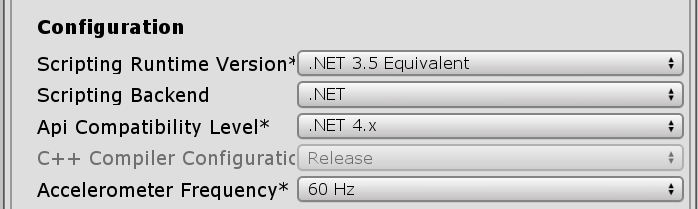
— Other Setting > Scripting Backend = .NET
(note that I use .NET because I used it since the Unity5.6. Building with the default IL2CPP is failed for my project, though it is the new standard now.)
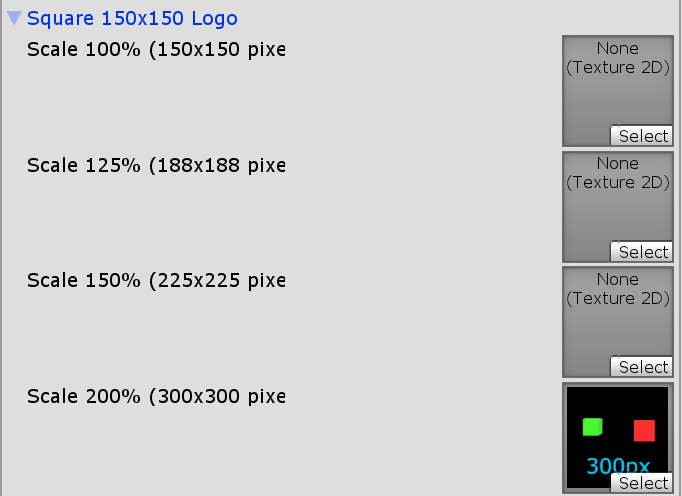
— Icon > Tiles and Logos > Square 150×150 Logo > Scale 200% (300×300 pixel), Add icon image for your app here! (Scale 100% did not work)
Player Settings >
– Follow settings in the below image.
– Note that don’t select the Enable Mixed Reality Remoting, it will build the app as a 2D window.
Build an app:
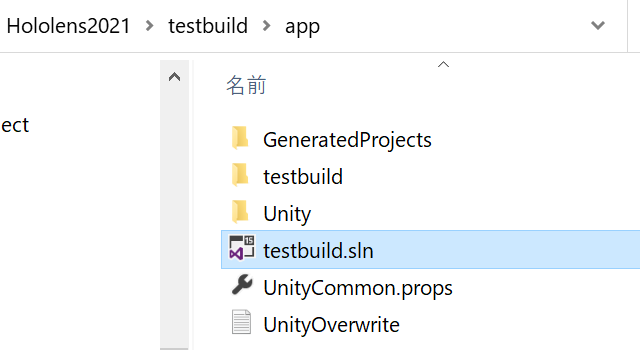
Click Build, then create a new folder “app”, the source code will generated in this folder. Otherwise, all the files to deploy to Hololens will messed up in your unity project folder.
It is also easy to just delete the “app” folder to rebuild the app from the scratch. Or create another folder “app2” to build another version of your app.
If build completed, window explorer will pop up showing “app” folder.
Note that the projectname.sln file outside the “app” folder is a project file for unity, we use it when doing coding together with scene design in unity.
To deploy an app to Hololens, you need to open “app/projectname.sln”

Note that you need to turn on developer mode on both pc (Setting > Security) and Hololens.
Connect the Hololens to pc with usb cable.
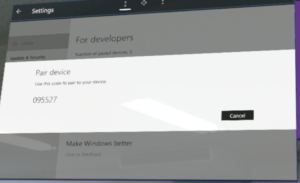
For the first time of deployment, you will be asked for pairing Hololens with the pc. Go to get the PIN from Hololens (Settings > Updates & Security > For developers > Device discovery > Pair)

Deploying App:
1. Release mode x86
2. Select Device (it will deploy through usb cable)
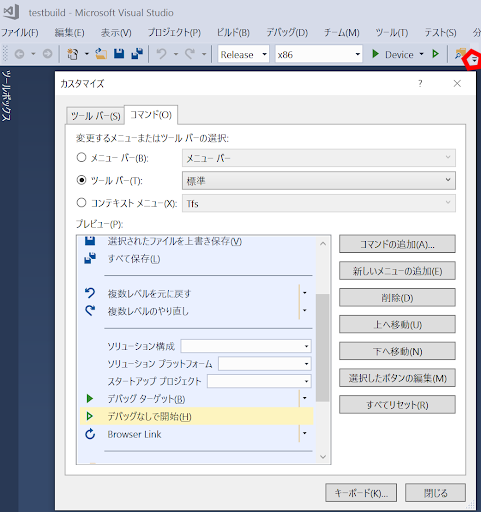
3. Select “Start without debug” ( Debug > Start without debug). Get the icon by clicking at the small triangle on the right > Customize > Command > Add Command .

Here is the app deployed to the Hololens.